Outlook integration
To store emails and other message records in TRASER Sales 365, you must synchronize it with your email system. After you configure Exchange and approve users' mailboxes, you can send emails out of TRASER Sales 365 and link emails from your Exchange mailbox to Dynamics 365 records. For example, a salesperson can email contact from an opportunity record and track the conversation of the opportunity timeline.
Table of contents
Set up server-side Exchange synchronization
TRASER Sales 365 uses server-side synchronization to keep your email system and Sales 365 up to date at all times.
To set up the server-side Exchange synchronization you need the following:
- The role of the system administrator or sales professional manager
- Microsoft 365 subscription
- Exchange Online Subscription
To proceed follow these steps:
- Navigate to Advanced Settings and then select Email Configuration.

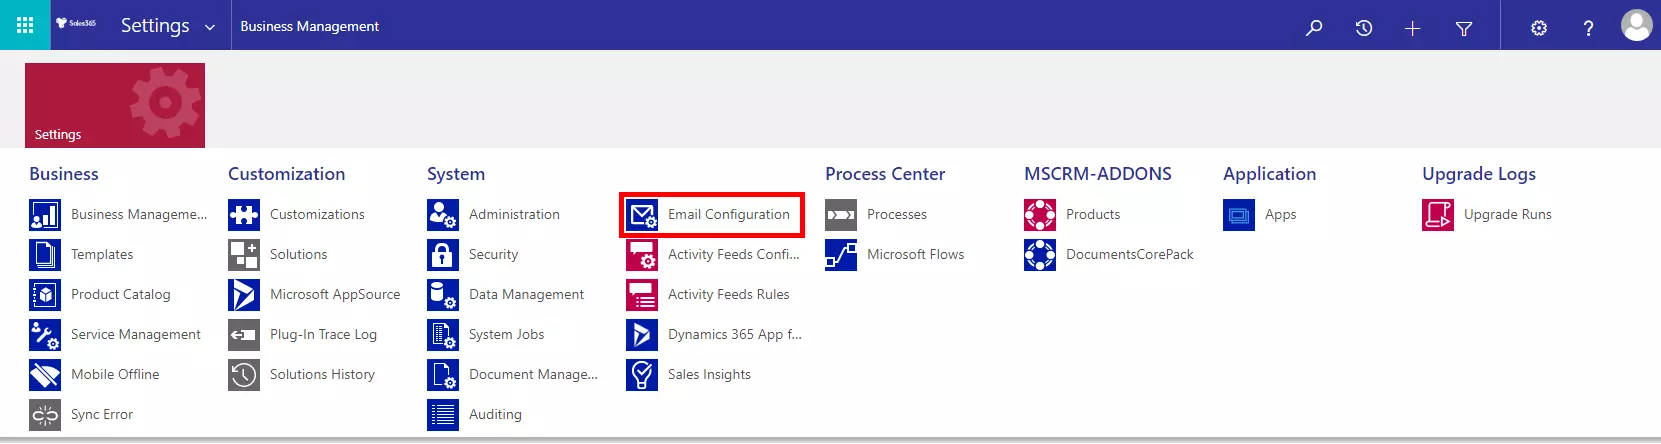
-
Then select the subitem Mailboxes.
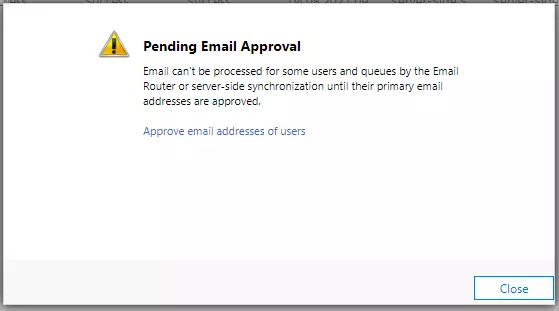
-
Change the view from My Active Mailboxes to Active User Mailboxes. If the following warning appears, click Close and continue with step 5. Approval of email addresses, if necessary, will be done in the next steps.
-
On the right, via the list that opens, search for the desired name. Search by first name last name, or alternatively via *last name as a placeholder.
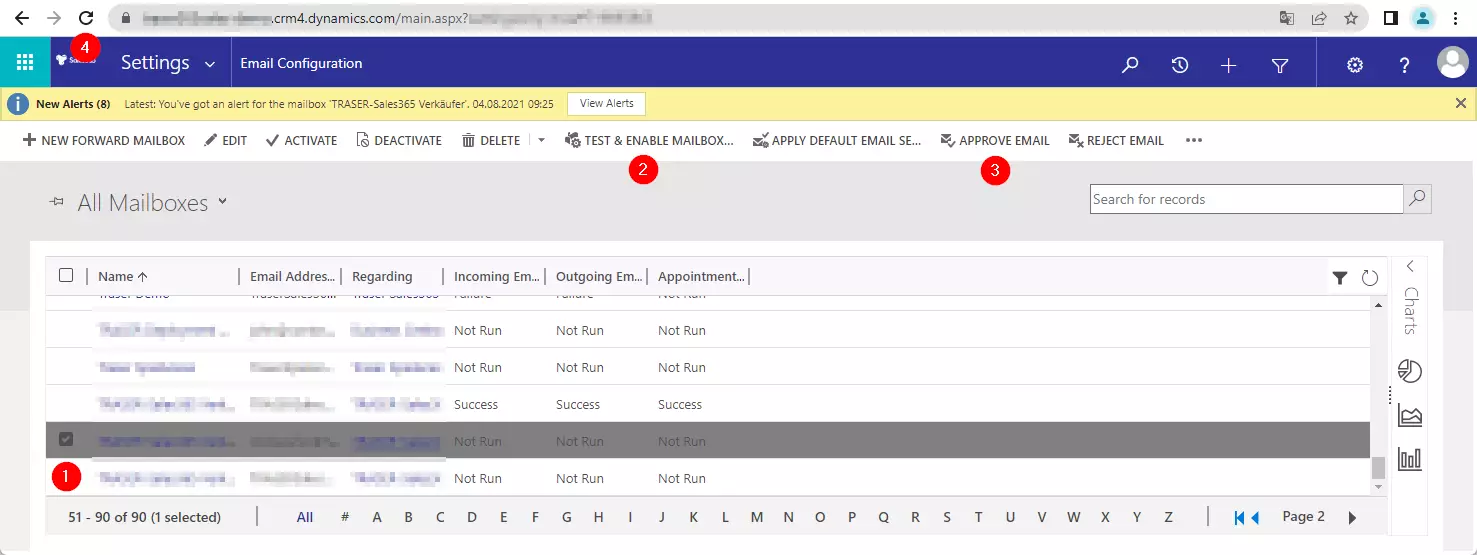
-
The found entry is first marked with the checkbox on the left (1). (Several entries can also be marked by a checkbox. The following steps are then carried out for all marked lines). Thereupon the options in the upper selection bar change. First, the mailbox has to be tested & enabled (2). If this leads to an error message (status changes from Not executed to Error) or if it turns out that the e-mail address is not yet approved, then the e-mail address can be approved under Approve email (3).
-
The status will then change from Not executed to Success after executing point 5. If the status has not changed after testing or approval, it is recommended to reload the page (4).
Enable Dynamics 365 Add-in for Outlook
After the email configuration is done, the next step is to assign the Outlook app to the respective users so that the add-in can also be used in Outlook.
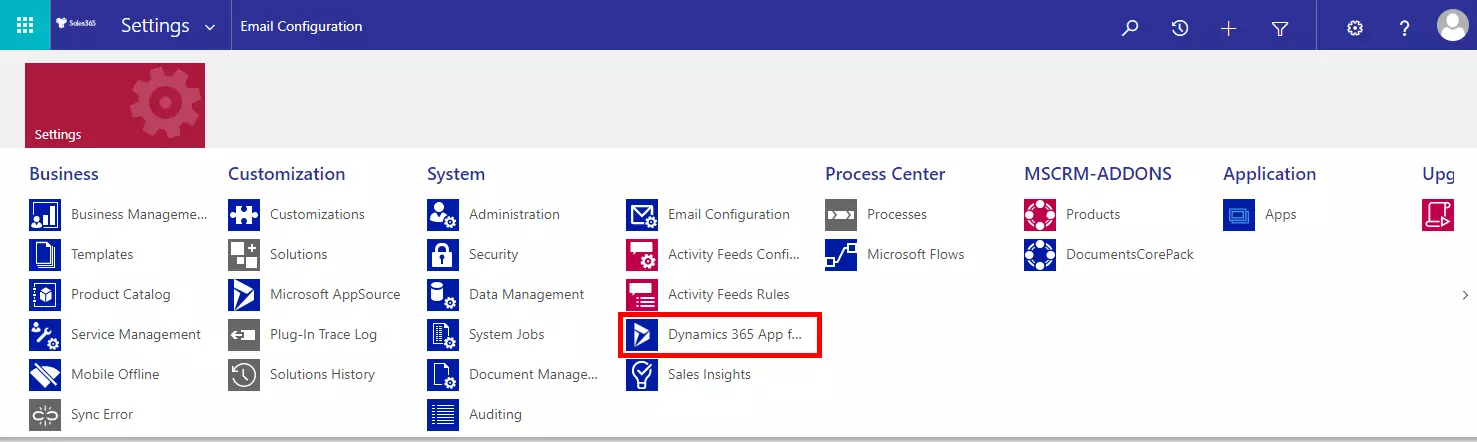
In Advanced Settings, open the Dynamics 365 App for Outlook menu.
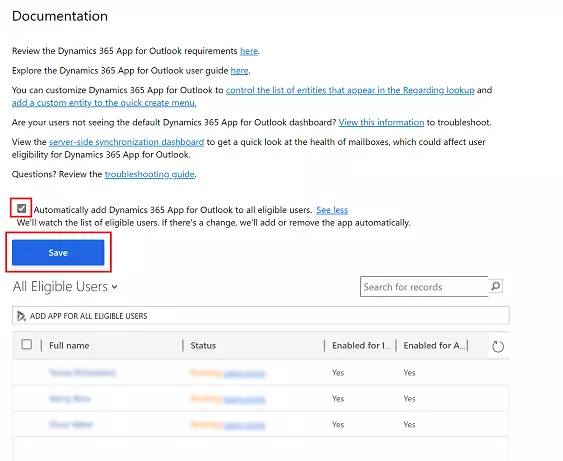
You have several options to deploy the app to your users:
Option 1: Check the box to automatically add the App for Outlook to all authorized users. If a user's email has been synchronized via server-side synchronization, you don't need to do anything but transfer the app to them.
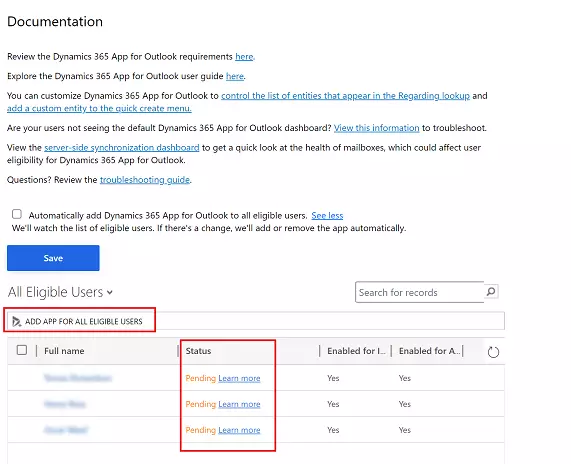
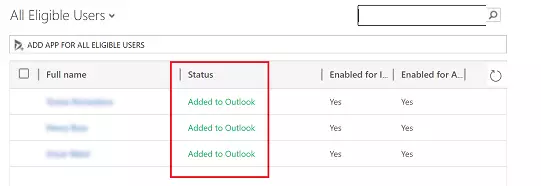
Option 2: Select ADD APP FOR ELIGIBLE USERS to deploy the app to all users who are set up correctly. The status changes to Pending.
Option 3: To transfer the app to specific users, select those users in the list, and then click ADD APP TO OUTLOOK.
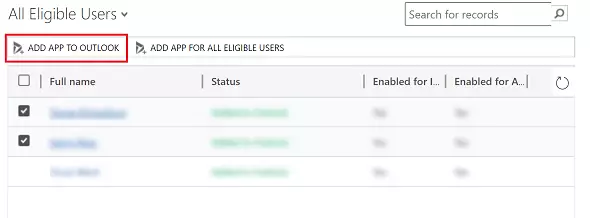
This setting will change the status to Added to Outlook and the app will be available for your users.
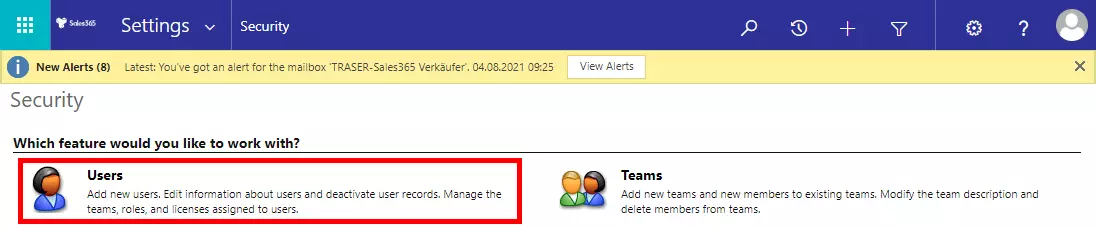
The last step is to check the security roles. To do this, go to the Security submenu (1) under Settings. There are now two options here.
-
Possibility 1:
Select the subitem Users (1).
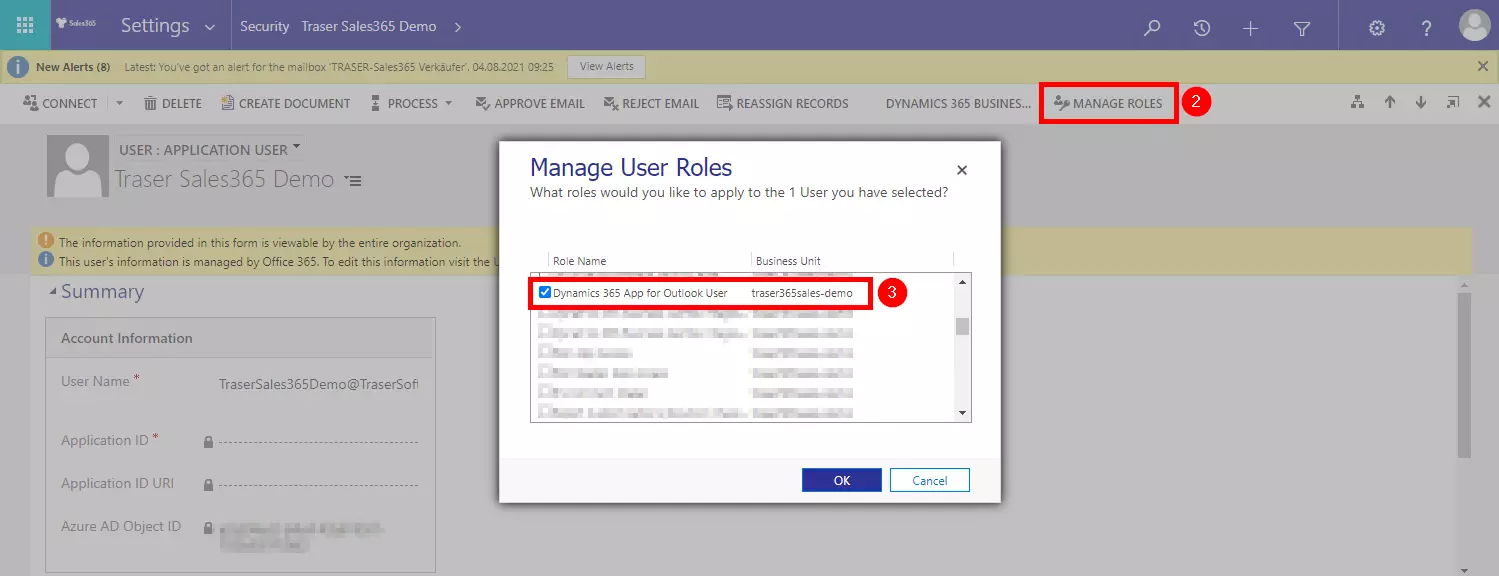
Then select the respective user and click MANAGE ROLES (2) in the menu at the top. For the user role, you need to check that the Dynamics 365 App for Outlook User role has a checkmark (3).
**Possibility 2 **
- Select the Teams subitem.
- If you work with Office groups in Azure Active Directory, the security role can also be assigned or checked per group.
- Select the team and then click again at the top of the menu under MANAGE ROLES (2) Call Team Roles and check if the checkmark is set. If not, set the check mark (3). All members of the team will then receive this role and it no longer needs to be entered on the individual user.

Die App wird nun im Outlook-Menüband für die hinzugefügten Benutzer angezeigt.

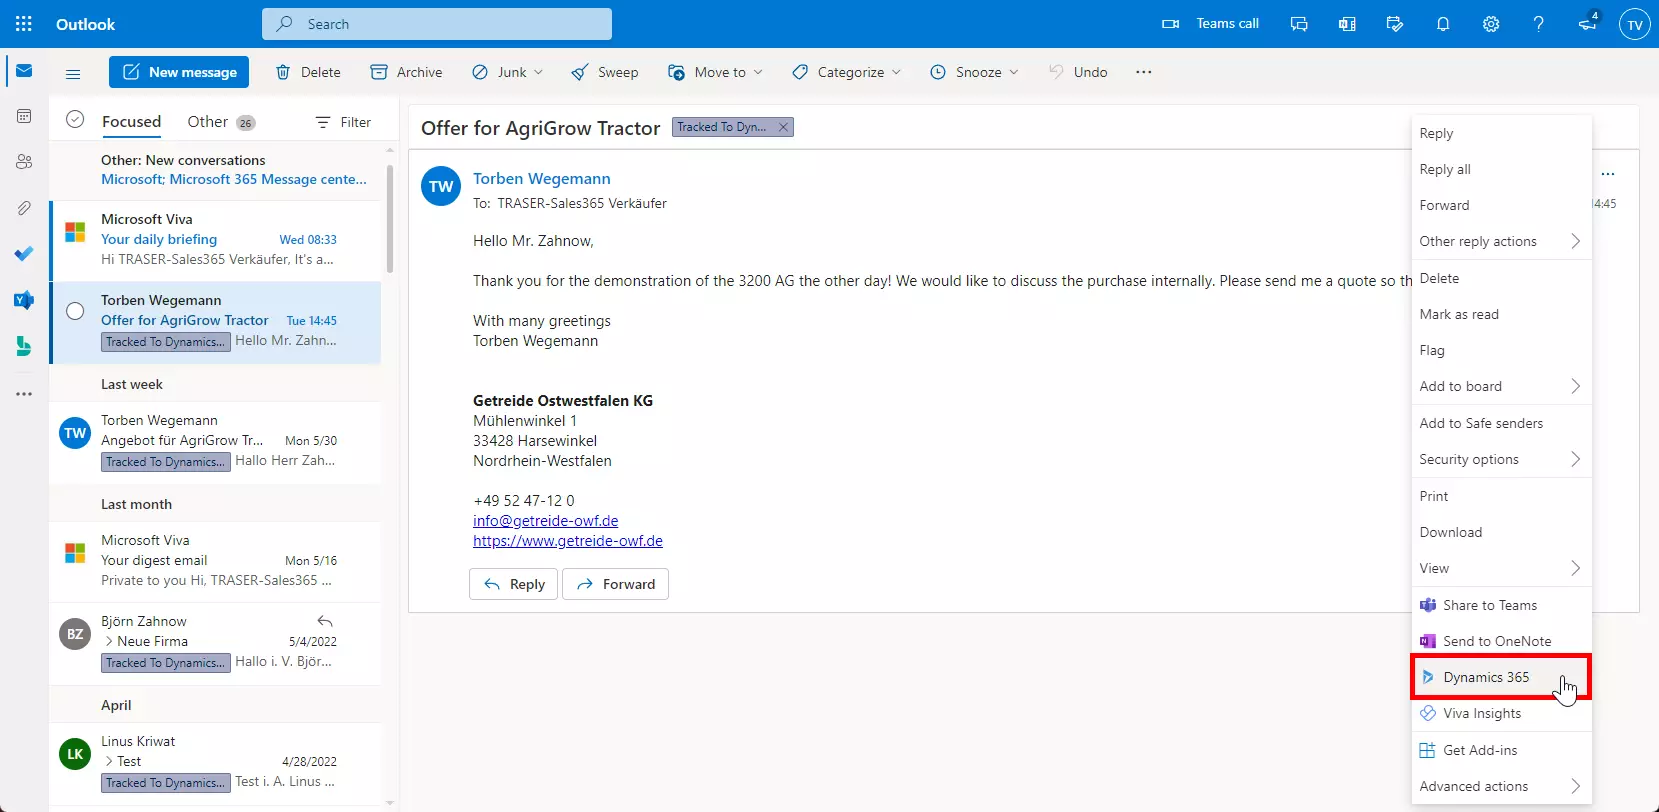
In der Browser-Version von Outlook können Sie sich die Dynamics 365 App über die drei Punkte einer E-Mail anzeigen lassen.