


Report Personalization
Direct modifications to TRASER reports are currently not possible. However, you can access the underlying data/semantic model of a Power BI app using Power BI Desktop to create your own custom reports. Alternatively, you can include additional fields when exporting data to Azure Data Lake Storage to tailor your reports, The standard reports are always preserved as-is. Your customized reports will be added to the workspace alongside the existing ones. This chapter is divided into the following sections:
- Creation of customized Reports with Power BI based on TRASER Data Model
- Personalization of Reports through extended Field Selection when exporting to Azure Data Lake
Creation of customized Reports with Power BI based on TRASER Data Model
Proceed as follows to set up your own report based on the data model of a Power BI app:
- Open Power BI Desktop on your computer.
- Login with your credentials.
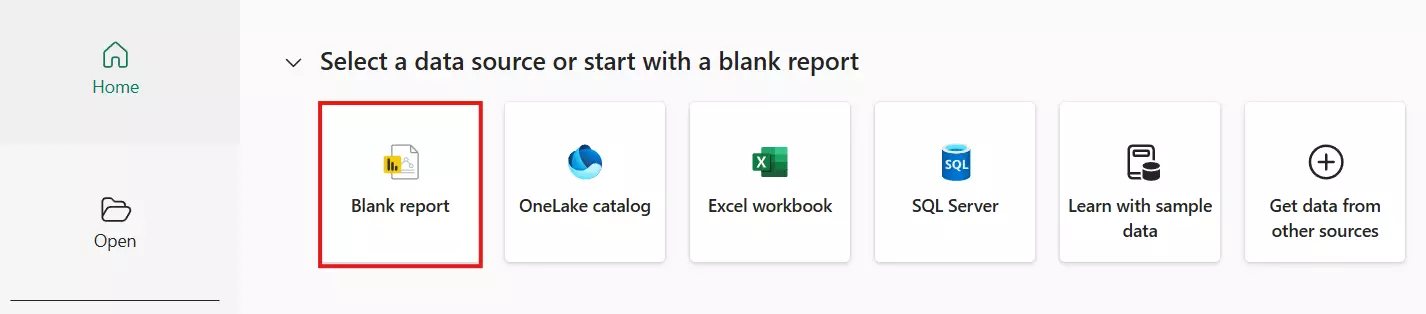
- Click on Blank Report on the start page of the application.
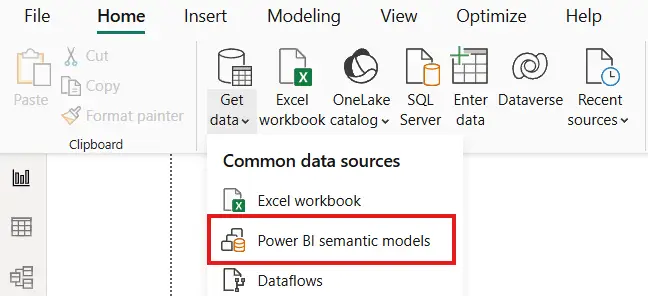
- A new, empty report is displayed. Click on Home > Get Data > Power BI semantic models in the menu bar.
- A list of your Power BI data/semantic models is displayed. Choose the model you wish to use as the foundation for your report and click Connect.
- The selected data model including all tables and fields is loaded into the report. You can now make changes or create new reports based on the existing model. For more information, see Create reports based on semantic models from different workspaces and Work with Report view in Power BI Desktop.
- When your report is complete, select Home > Publish from the menu bar.
- A dialog window is displayed. Click Save to save the report.
- Another dialog window is displayed. In the Name field, enter a clear name for the new report. Click Save again to confirm and save your report.
- Click on Home > Publish in the menu bar.
- In the Publish in Power BI dialog window, select the workspace or app in which the report shall be published. Click Select to confirm your selection.
The report is now published as an additional report in the selected workspace and can be viewed immediately. Standard reports are always preserved as-is. Your customized report will be added to the workspace as a new report alongside the existing ones.
Personalization of Reports through extended Field Selection when exporting to Azure Data Lake
Note
More information on setting up the export in Azure Data Lake Storage can be found here.
Proceed as follows to add additional fields when exporting to Azure Data Lake and use these fields to personalize your reports:
- Use the quick search (ALT+Q) in TRASER DMS 365 to find the Export to Azure Data Lake Storage page.
- Navigate to the Tables FastTab. In this table, you will find all tables available in TRASER DMS 365.
- To specify which table fields should be exported to Azure Data Lake Storage, click the value in the Fields selected field.
- A new page is displayed, allowing you to configure which fields of the selected table will be exported. To do so, activate the Activated checkbox for the respective table fields you would like to add to the report.
- Then, click Close.
- Then, click on Export > Schema export in the menu bar. The table scheme you set up will be imported in the Azure Data Lake Storage.
- Every time you edit a field, you have to redo the export to ensure that all changes will be included properly and the updated data is available. In this case, click on Export > Clear schema export date before you add new fields, then add the desired fields and click on Export > Schema export in the menu bar once again.
You have added additional fields to the report. You can now extend the data model in Power BI Desktop. To do so, please proceed as follows:
- Open Power BI Desktop on your computer.
- Login with your credentials.
- Click on Blank Report on the start page of the application.
- A new, empty report is displayed. Click on Home > Get Data > Power BI semantic models in the menu bar.
- A list of your Power BI data/semantic models is displayed. Choose the model that you added additional fields to and click Connect.
- The selected data model including all tables and fields is loaded into the report.
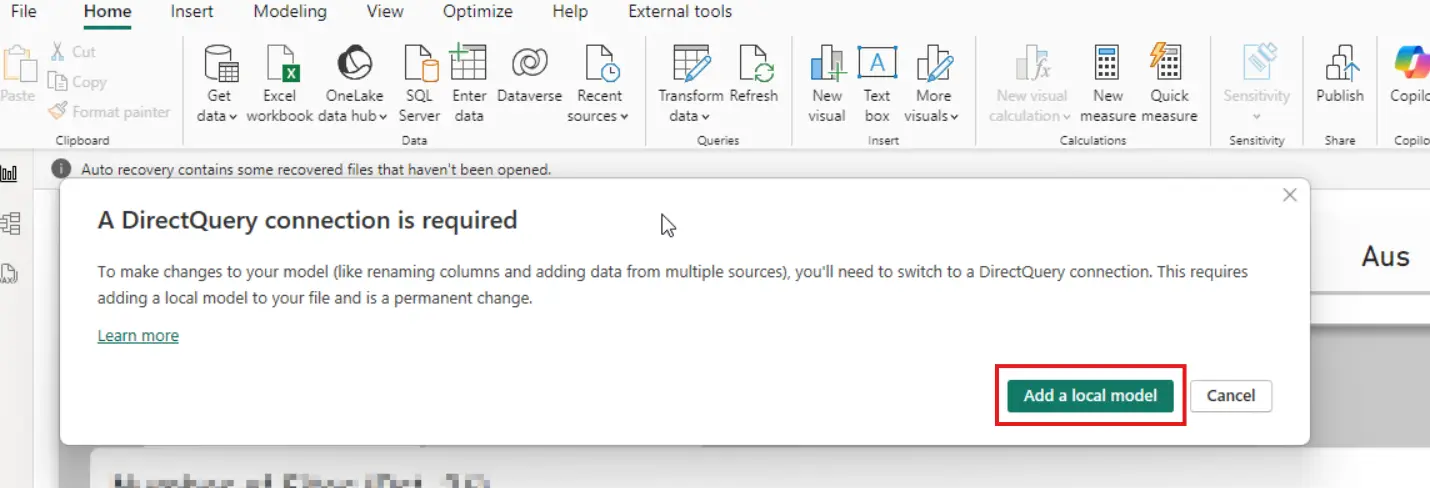
- Click on Home > Transform data > Transform data in the menu bar.
- A dialog window is displayed. Click on Add a local model.
- Another dialog window is displayed. Select the appropriate table here and then click on Send.
- The data is now available. You can now make changes or create reports with the newly added fields. For more information, see Create reports based on semantic models from different workspaces and Work with Report view in Power BI Desktop.
- When your report is complete, select Home > Publish from the menu bar.
- A dialog window opens. Click Save to save the report.
- A new dialog window is displayed. In the Name field, enter a clear name for the new report. Click Save again to confirm and save your report.
- Click on Home > Publish in the menu bar.
- In the Publish in Power BI dialog window, select the workspace or app in which the report shall be published. Click Select to confirm your selection.
The report is now published as an additional report in the selected workspace and can be viewed immediately. Standard reports are always preserved as-is. Your customized report will be added to the workspace as a new report alongside the existing ones.