Resources
In Microsoft Dynamics, resources are employees that can be added to billable documents. A resource can be used to invoice labor costs or working hours. When it comes to rental contracts, resources can be used for: recurring costs and fixed costs.
Use the following links to jump to the different sections in this document:
- Checking Resource Utilization
- Commissioning Resource
- Decommissioning Resource
- Marking Resource as Rent Component
- Assigning Rent Class to Resources
- Setting Replacement Price for Resources
Checking Resource Utilization
Using the utilization overview, you can view the overall usage of a resource. To check a resource’s utilization, please proceed as follows:
- Use the quick search (ALT+Q) to find the page Resources in TRASER DMS 365.
- A list containing all resources opens.
- Open the resource that you want to see the utilization for.
- Navigate to the Utilization register and open it in case it is closed.
- The Utilization Chart is displayed.
- The middle area (in this case: 17.12.20..17.01.21) specifies the time period that is shown in the chart.
- The last part (in this case: Week) specifies the type of time period that is shown in the chart.
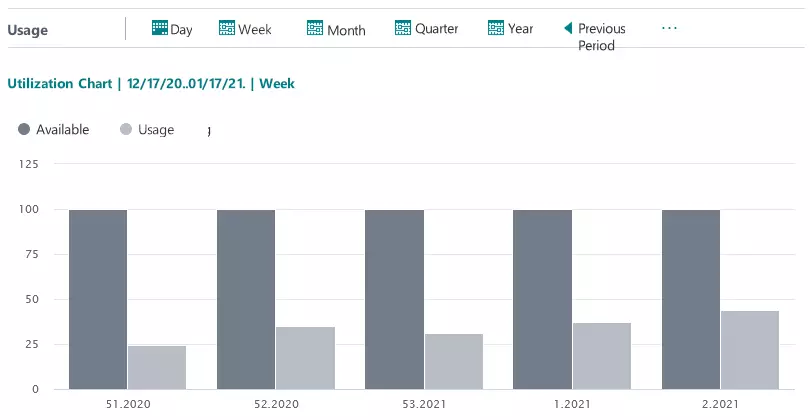
- You can filter the utilization by Day, Week, Month, Quarter or Year.
- Via the Previous Period button, you can view the utilization for the previous period.
- Via the Next Period button, you can view the utilization for the next period.
- The x-axis shows the exact date of the selected period.
- The y-axis shows the availability and the utilization of the item or service item in percent.
- Move your cursor over one of the bars in the chart to view the percentage.
- Close the resource card.
- Close the page Resources.
Commissioning Resources
In this section, you learn how to commission a resource.
After Commissioning, the resource will be available for rent.
To commission a resource, please proceed as follows:
- Use the quick search (ALT+Q) to find the page Resources in TRASER DMS 365.
- A list containing all resources opens.
- Open the resource you want to commission.
Note
The Calculation Type field under the General register must be left empty so you can commission the resource.
- In the Rent Class field in the Rental register, select a rent class for the resource.
- Select Rental > Commissioning from the menu bar.

- The commission/decommission wizard will open.
- To view a list of available rental locations, click on the button under To Rental Location.

- A window opens where you will be able to pick the rental location.
- Select the desired target rental location from the table and click OK in case the window is not closed automatically.
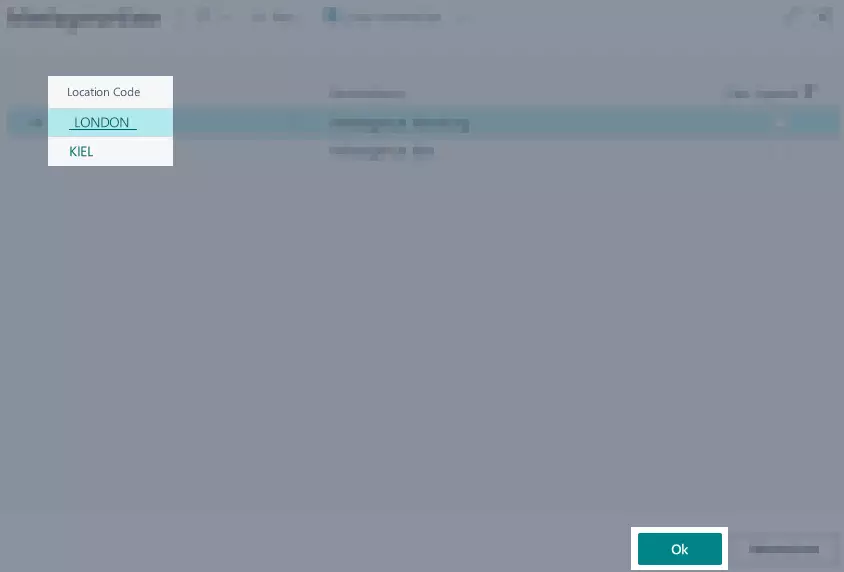
- The selected target rental location is shown under To Rental Location.
- Finally, click OK.

- Confirm the pop-up window by clicking OK.
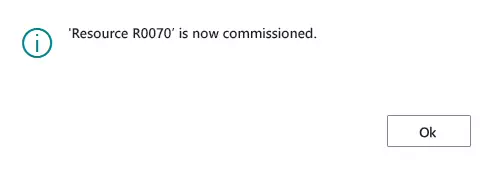
- The Available For Rent boolean in the Rental register is activated. You can find information on the status of the boolean in the Table 'Boolean'.
- The resource is now active and can be rented out.
- Close the page Resources.
Decommissioning Resource
In this section, you will learn how to decommission a resource.
After Decommissioning, the resource will be available for billable documents.
To decommission a resource, please proceed as follows:
- Use the quick search (ALT+Q) to find the page Resources in TRASER DMS 365.
- A list containing all resources opens.
- Open the resource you want to decommission.
- In the rental tab, check if the resource is available for rent. You can find information on the status of the boolean in the Table 'Boolean'.
- If the resource is available for rent it can be decommissioned.
- For decommissioning, select Rental > Decommission from the menu bar.

- The commission/decommission wizard will open.
- The field From Rental Location shows the rental location for the resource.
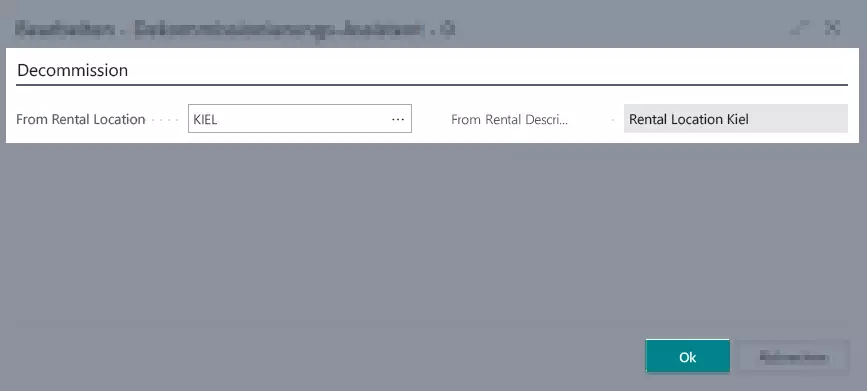
- Either, select a different rental location or comfirm the current rental location by clicking OK.
- Confirm the following pop-up window by clicking OK.
- The Available For Rent boolean in the Rental register is deactivated. You can find information on the status of the boolean in the Table 'Boolean'.
- The resource is now decommissioned and can be used for billable documents.
- Close the page Resources.
Marking Resource as Rent Component
If a resource is marked as a rent component, the resource can be added to a rental contract via a rent class/rent class package. For more information on how to assign contract components to a rental class or rental class package, click here. To mark a resource as component, proceed as follows:
- Use the quick search (ALT+Q) to find the page Resources in TRASER DMS 365.
- A list containing all resources is displayed.
- Select the resource that you would like to mark as component or create a new resource.
- In the Rental tab, activate the Rent Component field.
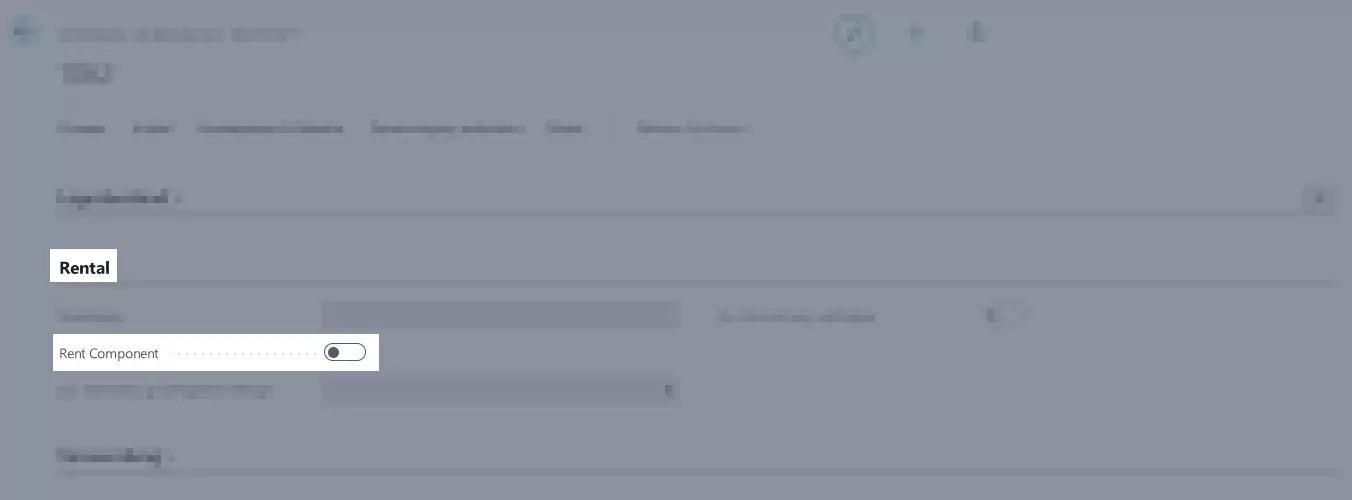
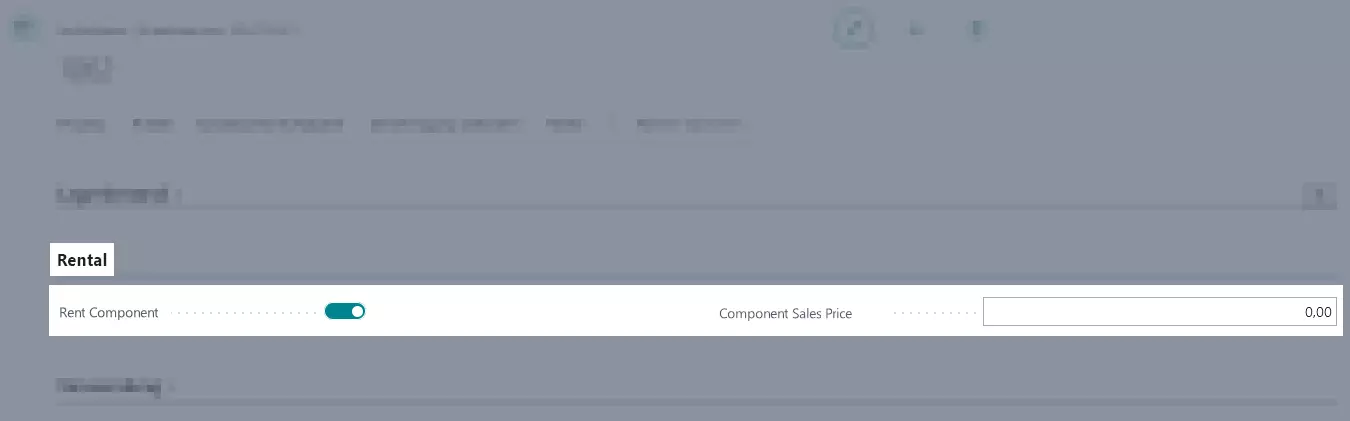
- If the field Rent Component is active, all the other fields in the Rental tab will be hiden and the field Component Sales Price appears.
- Optional Enter the sales price of the component here. You can also change the sales price on the rent class card.
Assigning Rent Class to Resources
On the resource card, you can assign a set rent class to a resource. If you assign a rent class to a resource, you will only be able to select that rent class in rental contracts. This way, errors will be minimized. To assign a set rent class to a resource, proceed as follows:
- Use the quick search (ALT+Q) to find the page Resources in TRASER DMS 365.
- A list containing all resources is displayed.
- Open an existing resource or create a new one.
- Select Rental > Create Rent Class from the menu bar.
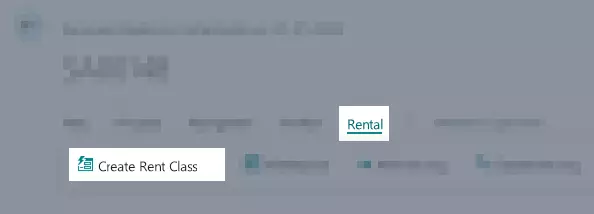
- A window opens where you will be able to edit the new rent class.
- You will now be able to edit the rent class as described in Creating Rent Class.
- Then, activate the rent class by activating the slider in the General tab. You can find information on the status of the boolean in the Table 'Boolean'.
- Close the window.
- The newly created rent class will be transferred to the Rent Class field in the Rental tab.

-
If this rent class is now added to a rental contract, the object number of the resource will be transferred directly to the contract lines.
-
Optional Next, you can commission the resource.
Setting Replacement Price for Resources
You can add a price to a resource that will be used when a resource has to be replaced. To set a replacement price for a resource, do the following:
- Use the quick search (ALT+Q) to find the page Resources in TRASER DMS 365.
- A list containing all resources is displayed.
- Open an existing resource or create a new one.
- In the Rental tab, in the Replacement Price field, enter a set price.

'Boolean' Table
The following table describes the boolean status for this chapter.
| Symbol | Status | Description |
|---|---|---|
 |
Disabled | The option is not activated and the related function not available. |
 |
Enabled | The option is activated and the related function available. |
In the next chapter you will learn everything important about service order types in the rental area.
Continue with next chapter