Deposit
This chapter covers all important information on deposits. In TRASER Rental 365, deposits are conducted via rental contracts.
This chapter is divided into the following sections:
- Create Deposit Invoice
- Manually Release Deposit
- Cancel Deposit Invoice
- Pay Back Deposit
- Set Up Deposit Penalty Codes
Note
Before you can make use of the deposit functionality, you have to carry out some essential settings. For more information on setting up the rental deposit function, see TRASER Rental Setup.
In addition, you have to specify the accounts used when posting deposits. Please proceed as follows:
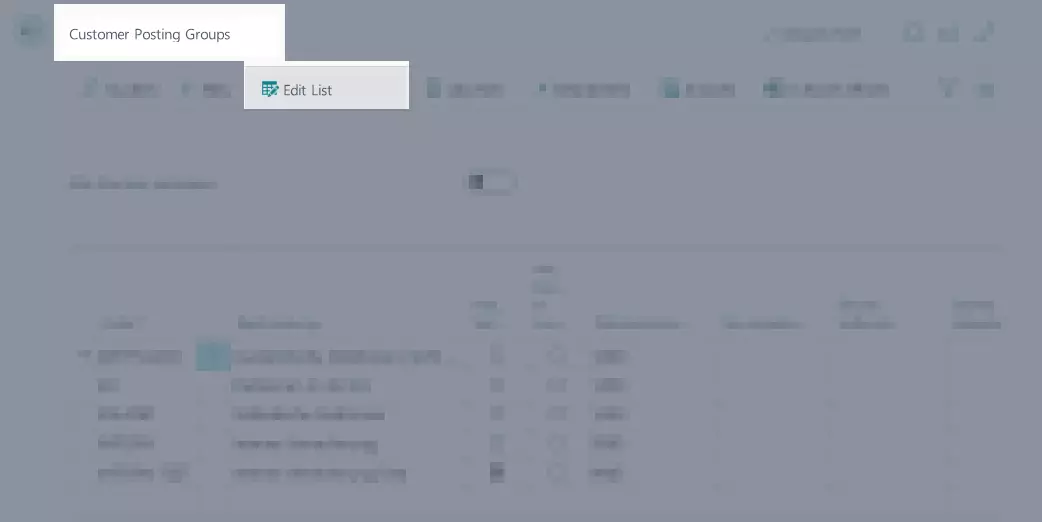
- Use the quick search (ALT+Q) to find the page Customer Posting Groups in TRASER DMS 365.
- A list of all customer posting groups is displayed.
- Click on New to create a new customer posting group or click on Edit List to edit an existing customer posting group.
- In the Requested Deposit Account field, enter the account for the requested deposits.
- In the Deposit Account, enter the account for the deposits that are payed in full.
- In the Deposit Revenue Account, enter the account for the revenues.
- Your changes are saved automatically.
- Close the page Customer Posting Groups.
Create Deposit Invoice
In TRASER Rental 365, deposits are conducted via a rental contract. Please proceed as follows:
Note
Before you can add a deposit entry to a rent class in a rental contract, you have to add additional revenues to said rent class.
For more information about creating rent classes or defining add. Revenue, click
Creating a Rent Class.
- Use the quick search (ALT+Q) to find the page Rental Contracts in TRASER DMS 365.
- A list with all rental contracts is displayed.
- Either, click on New to create a new rental contract or open an existing contract.
- Proceed as described in Add Additional Revenues, to add a deposit entry to a rent class.
- In the Prices Exclude VAT, enter the deposit amount.
- Proceed as described in Release Rental Contract to release the rental contract.
- Select Invoice > Deposit Entries from the menu bar.
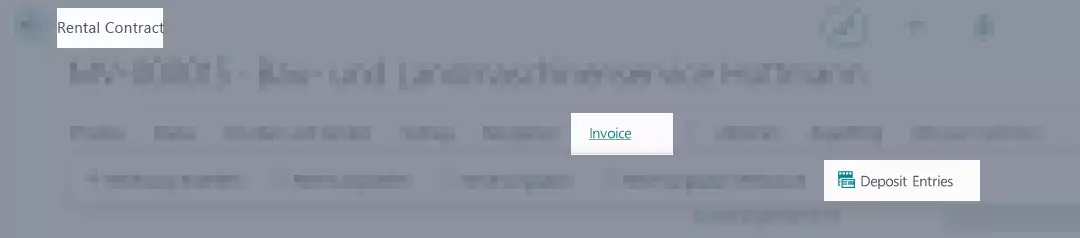
- A list with all existing deposit lines is displayed.
- Please select a deposit line.
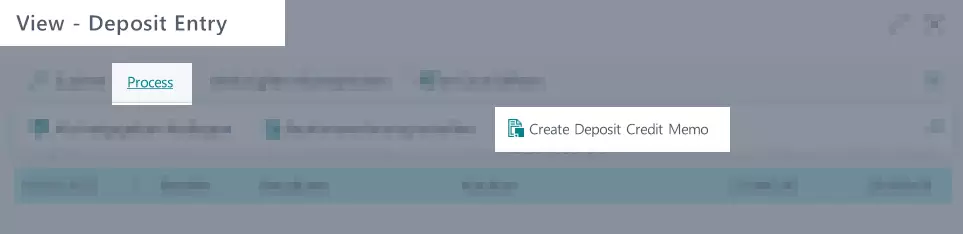
- Click Process > Create Deposit Invoice in the menu bar.
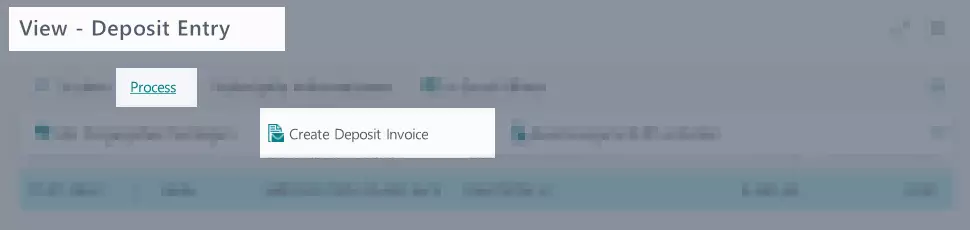
- A new pop-up window opens. Here, you can specify whether you would like to open the deposit document.
- Click Yes to open the document.
- Scroll to the Invoice Details register.
- In the Payment Method Code field, enter the payment method for the deposit.
- In the Payment Terms Code, enter the due date for the deposit. The payment discount date and payment discount date discount amount will also be influenced by this value.
- If you have checked all information, activate the slider Amount Checked in the Deposit Document Line register.
- To release the deposit invoice, select Status > Release from the menu bar.
- After that, you can post the deposit invoice. Click Post > Post Deposit Document in the menu bar.
- A pop-up window opens. Here, you can specify whether you want to open the posted invoice.
- Click Yes to open the invoice.
The next section describes how to manually release a deposit payment.
Manually Release Deposit
Rent objects can only be delivered if the deposit has been payed. To speed up logistical processes, you can manually release deposit lines that are still in payment. That way, the status of the line changes from In Payment to Authorized. To manually release deposit lines, proceed as follows:
- Use the quick search (ALT+Q) to find the page Rental Contracts in TRASER DMS 365.
- A list with all rental contracts is displayed.
- Open an existing rental contract that contains deposit lines you would like to release.
- Select Invoice > Deposit Entries from the menu bar.
- A list with all existing deposit entries opens.
- Select the deposit line you want to release.
- In the menu bar, click on Process > Set as authorized to release the deposit line.
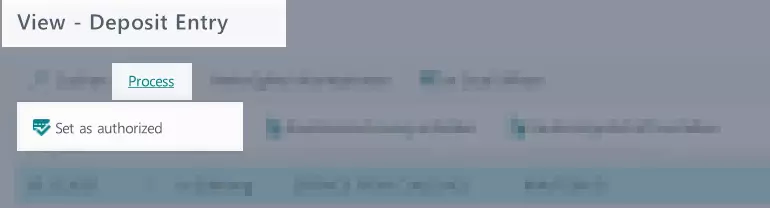
- The status of the deposit line changes to Released.
In this section, you will learn how to cancel a deposit.
Cancel Deposit Invoice
If a deposit has been wrongly applied, you can cancel the deposit invoice. In this case, a credit memo will be created. To cancel a deposit invoice, proceed as follows:
- Use the quick search (ALT+Q) to find the page Rental Contracts in TRASER DMS 365.
- A list with all rental contracts is displayed.
- Open an existing rental contract that contains deposit lines you would like to cancel.
- Select Invoice > Deposit Entries from the menu bar.
- A list with all existing deposit entries opens.
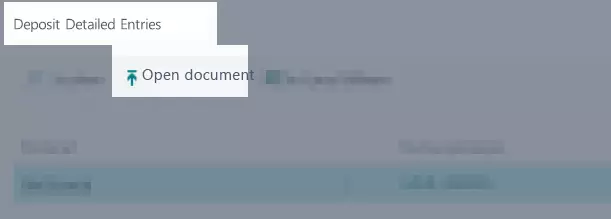
- Click Related Information > Detailed Entries in the menu bar.
- A list with all detailed deposit entries opens.
- Select the line you want to cancel.
- Then, click on Open Document to open the posted document.
- Click Correct > Cancel Deposit Document in the menu bar.
- A pop-up window opens. Here, specifiy if you want to cancel the deposit invoice.
- Click Yes to cancel the deposit invoice.
- When you cancel a deposit invoice, a credit memo will be created automatically. Click Yes to open the credit memo.
- If you have checked all information, activate the slider Amount Checked in the Deposit Document Line register.
- To release the credit memo, select Status > Release from the menu bar.
- To post the credit memo, select Post > Post Deposit Document from the menu bar.
- A pop-up window opens. Here, you can specify whether you want to open the posted credit memo.
- Click Yes to open the credit memo.
- The field Correction under the General register shows that the deposit was canceled by a credit memo. You might have to click More Options to view all fields.
This chapter covers everything you need to know about deposits.
Pay Back Deposit
After returning a rent object, you can pay back the deposit to the customer. In this case, a credit memo will be created for the deposit. In case of damages to a rent object you can apply a deposit penalty, which means that only a partial amount will be repayed. You can also retain the entire deposit amount.
In this section, you will learn how to pay back a deposit in full.
Pay Back Deposit in Full
Proceed as follows:
Note
You can only pay back a deposit when the status of the deposit line is set to Paid. Furthermore, the check box Returned has to be activated in order to pay back a deposit. All information regarding the deposit entries you will find under the Invoice > Deposit Entries buttons in the rental contract. For more information on this, click here.
- Use the quick search (ALT+Q) to find the page Rental Contracts in TRASER DMS 365.
- A list with all rental contracts is displayed.
- Open an existing rental contract that contains deposit lines you would like to pay back.
- Select Invoice > Deposit Entries from the menu bar.
- A list with all existing deposit entries opens.
- Select the deposit line you want to pay back.
- Click Process > Create Deposit Credit Memo in the menu bar.
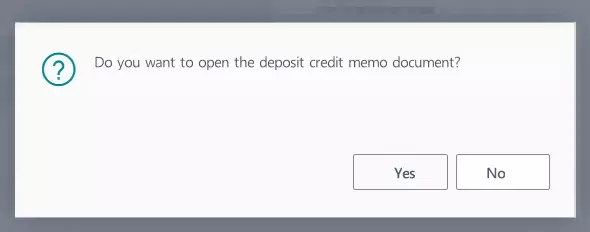
- A new pop-up window opens. Here, you can specify whether you would like to open the deposit credit memo document.
- Click Yes to open the document.
- Scroll to the Invoice Details register.

- In the Payment Method Code field, enter the payment method for the deposit credit memo.
- In the Payment Terms Code, enter the due date for the credit memo.
- If you have checked all information, activate the slider Amount Checked in the Deposit Document Line register.
- To release the deposit repayment, select Status > Release from the menu bar.
- To post the repayment, select Post > Post Deposit Document from the menu bar.
- A pop-up window opens. Here, you can specify whether you want to open the posted credit memo.
- Click Yes to open the credit memo.
In the next section you learn how to apply a deposit penalty.
Partially refund or retain deposit
If a rental object is returned by the customer and shows damage, you can apply a deposit penalty and only pay back part of the deposit or even retain the entire deposit. To do this, proceed as follows:
Note
You can only apply a deposit penalty when the status of the deposit line is set to Paid. Furthermore, the check box Returned has to be activated in order to apply a deposit penalty. All information regarding the deposit entries you will find under the Invoice > Deposit Entries buttons in the rental contract. For more information on this, click here.
- Use the quick search (ALT+Q) to find the page Rental Contracts in TRASER DMS 365.
- A list with all rental contracts is displayed.
- Open an existing rental contract that contains deposit lines.
- Select Invoice > Deposit Entries from the menu bar.
- A list with all existing deposit entries opens.
- Please select a deposit line.
- Click Process > Create Deposit Credit Memo in the menu bar.
- A new pop-up window opens. Here, you can specify whether you would like to open the deposit credit memo document.
- Click Yes to open the document.
- Scroll to the Deposit Document Line register.
- Use the Penalty Code line to enter the reason of the deposit penalty. You can add text lines to penalty codes that will be transferred to posted deposit documents. For more information on the creation of penalty codes and text lines, click here.
- Click on Manage > Penalty Allocation.

- The page Penalty Allocation is displayed.
- In the Object No. field, select the rent object that has been damaged.
- In the Penalty Amount field, enter the sum you want to retain. You can either enter a partial amount or the entire deposit amount.
- Close the page Penalty Allocation.
- Once you have checked all information, activate the booleans for Amount Checked as well as Penalty Amount Checked in the Deposit Document Line register.
- To release the partial credit memo, select Status > Release from the menu bar.
- To post the partial repayment, select Post > Post Deposit Document from the menu bar.
- A pop-up window opens. Here, you can specify whether you want to open the posted credit memo.
- Click Yes to open the credit memo.
Set Up Deposit Penalty Codes
You can define penalty codes that can be used in case you have to apply a deposit penalty. You can also add text lines to penalty codes that will be shown on posted deposit documents. To define deposit penalty codes, proceed as follows:
- Use the quick search (ALT+Q) to find the page Deposit Penalty Reason in TRASER DMS 365.
- A table containing all penalty codes is displayed.
- To set up a new penalty code, click New.
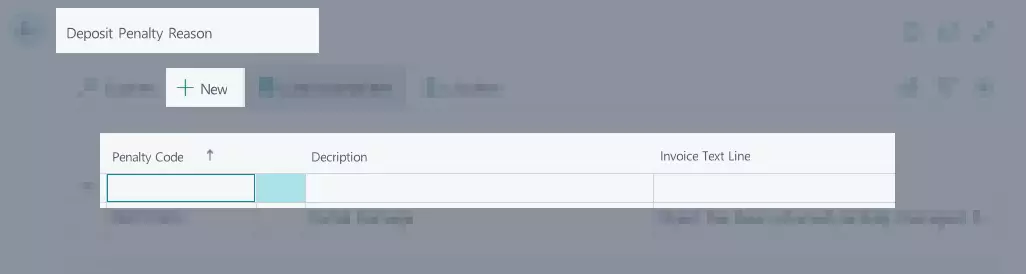
- A new line appears in the table.
- Use the Penalty Code column to enter a code for the deposit penalty.
- Use the Description column to enter a clear description for the deposit penalty.
- Optional Use the Invoice Text Line column to enter a text that will be shown on posted deposit documents. In addition, by using the function %1 you can add the penalty amount to the text line.
- Your changes are saved automatically.
- A new penalty code has been created. This penalty code can be added to deposit documents.
The next chapter covers everything you need to know about rent breaks.
Continue with next chapter