Assign Rental Objects
After a rental contract is released, the posted rent objects have to be assigned specifically to this contract in order to trigger the commissioning of the items on time and to simplify the resource planning. After assigning a rent object to a rental contract, a transfer order can be created to dispatch the rent object.
In this chapter you will learn how to call up a list of all rent objects to be delivered and how to trigger further processing, delivery and return of the rent objects. The whole disposition of rent objects can be handled using the Delivery Plan and Return Plan windows.
Here you can find the relevant sections on assigning and processing rental objects in TRASER Rental 365:
- Assigning rent objects via the 'Delivery Plan'
- Returning rent objects via the 'Return Plan'
- Assigning and returning rent objects in a released rental contract
- Create Picklist
Assigning rent objects via the 'Delivery Plan'
In this section you will learn how to call up a list of all rent objects to be delivered and how to assign rent objects via the Delivery Plan page. Please proceed as follows:
- Use the quick search (ALT+Q) to find the page Delivery Plan in TRASER DMS 365.
- A list of all active contracts including the assigned rent objects and further contract parameters is displayed.
Note
Only released and active contracts are shown. More information on activating and releasing rental contracts you can find under
Creating a rental contract.
The Status field of the rent object must have the initial status of the object status flow (normally Start).
- Mark the line of the rental contract to which you want to assign a rent object.
- Check the information in the line for correctness.
- If the information is correct, select Next Status > Process Next Status.

- If a value has already been selected in the Next Status column, it will now be adopted and entered in the Status column.
- If no new status has been defined, a pop-up window will be opened where you can select the next status. The possible statuses of a rent object are defined in the object status flow of the respective rent class.
You can find more information on the object status flow under Process Flow.
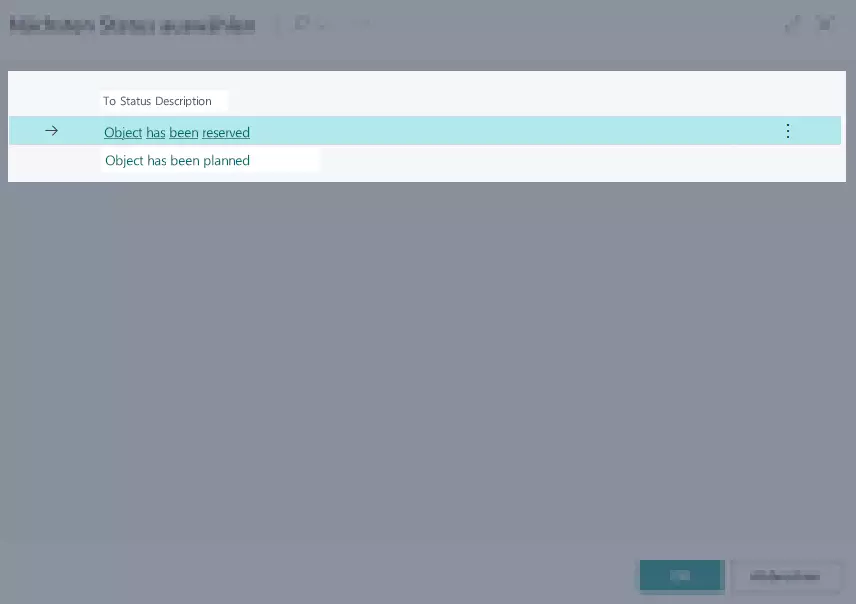
- Navigate to the Quantity column and enter the desired quantity that you want to assign to the rent object.
- Check the Delivery Location Code column and specify the location from where the rent object will be delivered.
- If the values Current Location and Delivery Location Code differ then the rent object is not at the designated rental location yet.
-
Optional Select Transfer > Create Transfer Order to create a transfer order.
You can find more information on this under Transferring rent objects between rental locations.
-
Optional Select Transfer > Create Transfer Order to create a transfer order.
- If Current Location and Delivery Location Code are the same, enter the date at which the rent object should be delivered into the Delivery Date column.
- Select Next Status > Process Next Status.
- A dialog window is opened. Confirm this with Yes to enter further data.
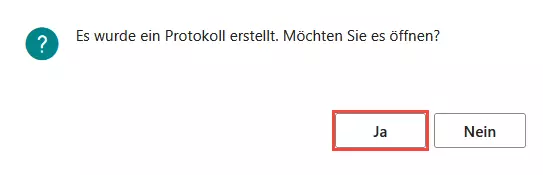
- The protocol card for this order is opened.
- Check the pre-filled fields for correctness and optionally fill in the (remaining) fields to finish the order. You can find more information on the individual fields of the protocol card here.
- Scroll down to the end of the protocol card to get an overview of the rent parameters.
Note
If the rent objects have the same source or target locations and the same delivery dates, you can also trigger the processing and delivery of several rent objects at the same time via the Delivery Plan. Mark the lines of the rental contract that you want to process at the same time. For this, click on the button with the three dots. After that, proceed as described under Assigning rent objects via the 'Delivery Plan'.
Otherwise you can process several rent objects in an
already existing protocol.
- In the Delivery Lines area, enter the quantity of the rent objects to be delivered into the Quantity to Process column.
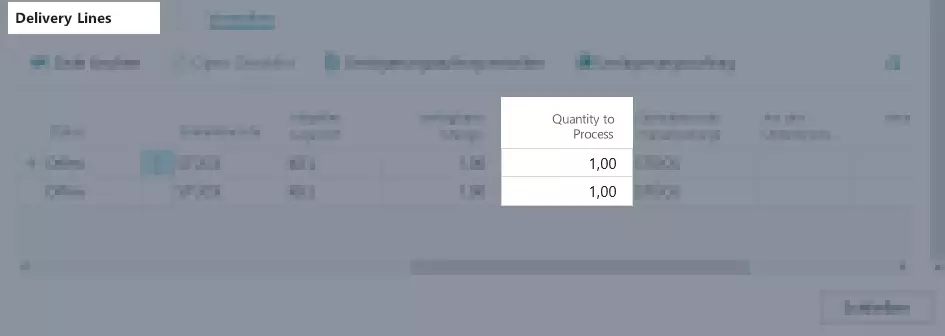
- If all data is complete, select Status > Release.

- To post, select Post > Post to deliver the rent object on the specified date.

- The rent object line will be deleted from the Delivery Plan and adopted into the Return Plan.
You can find more information on this list under Returning rent objects via the 'Return Plan'.
Columns and header elements of the 'Delivery Plan'
Header elements of the 'Delivery Plan'
This subsection will describe the individual header elements of the 'Delivery Plan' and their related functions.

| Option | Action |
|---|---|
| Rent Object > Select Alternative Rent Class |
By using this button you can select another rent class in case a rent object is not available in the intended rent class but is available in another rent class. For more information on this, go here. |
| Rent Object > Reset Rent Class |
By using this button you can reselect a previously selected alternative rent class. |
| Rent Object > Rent Object |
By using this button the item or service item card of the rent object in the selected contract will be opened. |
| Rent Object > Contract |
By using this button the rental contract of the selected line will be opened. |
| Next Status > Set Next Main Status |
By using this button, you can set the next main status for all selected lines. |
| Next Status > Set Location and Date |
By using this button, you can set the delivery location and/or delivery date for all selected lines. |
| Next Status > Process Next Status |
By using this button, the rent object will be processed into the next status. Additional steps and information may be required for the execution. The possible statuses of a rent object are defined in the object status flow of the respective rent class. You can find more information on the object status flow under Process Flow. |
| Cancel > Reset Previous Status |
By using this button, you can reset the status of the rent object into the previous process step. The possible statuses of a rent object are defined in the object status flow of the respective rent class. You can find more information on the object status flow under Process Flow. |
| Cancel > Clear 'Next Status' |
By using this button, the Next Status column will be emptied for all selected lines. |
| Documents > Create Picklist |
By using this button, you can create a picklist for all selected lines. For more information on this, go here. |
| Documents > Open Protocol |
Using this button will open the protocols of this rental contract or rent object. |
| Documents > Open Picklist |
By using this button, you can open an already created picklist for the selected line. For more information on pick lists, go here. |
| Transfer > Create Transfer Order |
By using this button, you can create a transfer order for the selected rent object. You can find more information on transfer orders under Transferring rent objects between rental locations. |
| Transfer > Transfer Order |
By using this button, you can open an already existing transfer order for the selected rent object. You can find more information on transfer orders under Transferring rent objects between rental locations. |
| Lines > Split Line |
By using this button, you can split documents with more than one rent object to realize partial deliveries. Partial deliveries have to be enabled or activated in the related Process Flow and in the Rent Class to be able to use this function. |
| Lines > Merge Line with |
By using this button, you can merge two split document lines again. Partial deliveries have to be enabled or activated in the related Process Flow and in the Rent Class to be able to use this function. |
| Sales > Create Components Sales Order |
By using this button, you can create a sales order for the delivery of the components. |
| Purchase > Open Purchase Document |
By using this button, you can open the linked rental purchase document for the selected line. For more information on rental purchase requests, go here. For more on rental purchase contracts, go here. |
| Purchase > Create Rental Purchase Request |
By using this button, you can create a rental purchase request for the selected line. For more information on rental purchase requests, go here. |
| Purchase > Create Rental Purchase Contract |
By using this button, you can create a rental purchase contract for the selected line. For more information on rental purchase contracts, go here. |
Columns of the 'Delivery Plan'
This subsection describes all existing columns in the Delivery Plan. Depending on the status, various columns allow parameters to be entered or changed directly, should this be necessary.

| Option | Action |
|---|---|
| Document No. | This column specifies the number of the contract for which a rental reservation exists. |
| Customer No. | This column specifies the number of the customer for which a rental reservation was created. |
| Rent Class | This column specifies the rent class for which the rental reservation was created. You can find more information on rent classes under Rent Classes. |
| Alternative Rent Class Selected | If this checkbox is activated, an alternative rent class was selected in a rental contract. You can find more information on selecting an alternative rent class under Selecting An Alternative Rent Class. |
| Object Type | This column specifies the object type (item or service item) for which the rental reservation was created. |
| Contract Start Date | This column specifies the start date from the rental contract. |
| Quantity | This column specifies the quantity of the rent objects for which the rental reservation was reserved. |
| Qty. Delivered | This column specifies the quantity of the rent objects that have already been delivered to the customer. |
| Unit of Measure Code | This column specifies the code of the unit of measure in which the rent object is delivered. |
| Status | This column specifies the current status of the rent object. The possible statuses of a rent object are defined in the object status flow of the respective rent class. You can find more information on the object status flow under Process Flow. |
| Next Status | This column specifies the next status which the rent object will have after the following process step. The possible statuses of a rent object are defined in the object status flow of the respective rent class. You can find more information on the object status flow under Process Flow. |
| Protocol Exists | This column specifies if a protocol exists for the respective rental contract. |
| Object No. | This column specifies the (service) item number of the rent object. This field is only filled if a specific rent object has been reserved or planned. You can find further information on this in the Assigning specific object numbers to lines and Plan Reservation sections. |
| Object Description | This column specifies the description of the rent object as it is stored in the (service) item. This field is only filled if a specific rent object has been reserved or planned. You can find further information on this in the Assigning specific object numbers to lines and Plan Reservation sections. |
| Object Description 2 | See Object Description. |
| Delivery Location Code | This column specifies the code of the location to which the rent object will be delivered. More information on rent locations you will find here Rent Objects. |
| Vendor Delivery Location No. | This column sets the vendor number as vendor location number in case the delivery location is a vendor location. |
| Delivery Bin Code | This column specifies the code of the location to which the rent object will be delivered. More information on rent locations you will find here. |
| Shipping Agent Code | In this drop-down list you can select a code for the shipping agent. This might be an internal shipping agent or an external shipping agent such as a package service or a goods transport agency. |
| Shipment Date | This column specifies the date at which the rent object must be shipped to reach the customer in time. |
| Ship-to Date | This column specifies the date on which the shipping of the rent object to the customer is scheduled. |
| Ship-to Time Prefix | This column specifies if a rent object should be handed to the customer until or from a certain time. |
| Ship-to Time | This column specifies the time at which the rent object should be handed to the customer. |
| Current Location | This column specifies the current location of the rent object. |
| Qty. Available | This column specifies what quantity of the selected rent object is available at the current location. |
| Customer Name | This column specifies the name of the customer for who the rental contract is being processed. |
| Ship-to Address | This column specifies the address to which the rent object will be delivered. |
| Ship-to Comment | In this column you enter comments or hints on the shipping. |
Returning rent objects via the 'Return Plan'
This section describes how to return rent objects using the Return Plan. This list also serves as an overview of all delivered rent objects.
To return a rent object, please proceed as follows:
- Use the quick search (ALT+Q) to find the page Return Plan in TRASER DMS 365.
- A list containing all active rental contracts is displayed.
Note
The list only shows active rental contracts and those where at least one rent object has the Object has been delivered status.
- Select the rent object for which you want to register a return.
- Select from the drop-down list of the Return Location Code column the code of the rental location to which the rent object will be returned to.
- Enter the date in the Return Date column at which the rent object will be returned.
- Select Next Status > Process Next Status.

- A pop-up window is displayed in which possible next statuses are proposed. The possible statuses of a rent object are defined in the object status flow of the respective rent class. You can find more information on the object status flow under Process Flow.
- The protocol card for this order is opened.
- Check the pre-filled fields of the protocol card for correctness and optionally fill in the (remaining) fields to finish the order. For more information on this, go to Protocol Card.
Note
If the rent objects have the same data, you can also trigger the return of several rent objects at once by using the Return Plan. Mark the lines of the rental contract that you want to process at the same time. For this, click on the button with the three dots. After that, proceed as described under Returning rent objects via the 'Return Plan'.
Otherwise you can process several rent objects in an
already existing protocol.
- In the Return Lines area, enter the quantity of the rent objects to be returned, replaced or taken into repair into the Quantity to Process column.
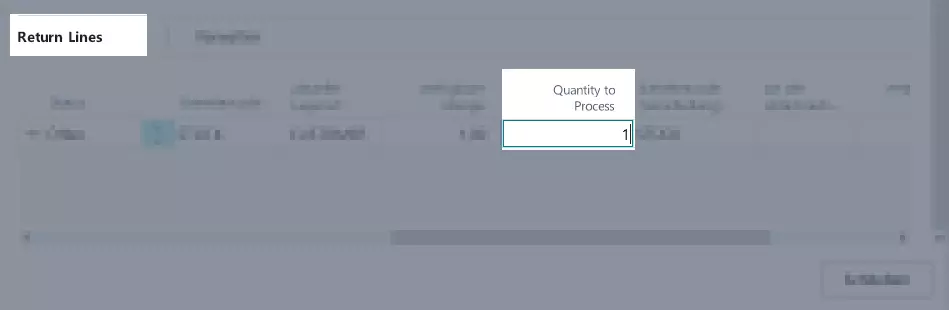
- If all data is complete, select Status > Release.
- To post, select Posting > Post to deliver the rent object on the specified date.
- The line of the rent object will be deleted from the Return Plan and the rental contract will receive the Final Settlement status.
- Close the Return Plan page.
The rental contract is now finished and can be invoiced. For more information on this, go to Invoice Plans.
Columns and header elements of the 'Return Plan'
Header elements of the 'Return Plan'
This subsection will describe the individual header elements of the 'Return Plan' and their related functions.

| Option | Action |
|---|---|
| Related Information > Contract |
By using this button the rental contract of the selected line will be opened. |
| Related Information > Rent Object |
By using this button the item or service item card of the rent object in the selected contract will be opened. |
| Next Status > Set Next Main Status |
By using this button, you can set the next main status for all selected lines. |
| Next Status > Set Location and Date |
Using this column, you can set the return location and/or return date for all selected lines. |
| Next Status > Process Next Status |
By using this button, the rent object will be processed into the next status. Additional steps and information may be required for the execution. The possible statuses of a rent object are defined in the object status flow of the respective rent class. You can find more information on the object status flow under Process Flow. |
| Cancel > Reset Previous Status |
By using this button, you can reset the status of the rent object into the previous process step. Depending on the previous state, the line may be restored into the Contract Delivery List. The possible statuses of a rent object are defined in the object status flow of the respective rent class. You can find more information on the object status flow under Process Flow. |
| Cancel > Clear 'Next Status' |
By using this button, the Next Status column will be emptied for all selected lines. |
| Documents > Create Picklist |
By using this button, you can create a picklist for all selected lines. For more information on this, go here. |
| Documents > Open Protocol |
Using this button will open the protocols of this rental contract or rent object. |
| Documents > Open Picklist |
By using this button, you can open an already created picklist for the selected line. For more information on pick lists, go here. |
| Transfer > Transfer Order |
By using this button, you can open an already existing transfer order for the selected rent object. You can find more information on transfer orders under Transferring rent objects between rental locations. |
| Lines > Merge Line with |
By using this button, you can merge two split document lines again. Partial deliveries have to be enabled or activated in the related Process Flow and in the Rent Class to be able to use this function. |
| Replacement > Prepare Replacement |
This button will create a new object line in the rental contract to process the replacement of rent objects, for example when they are in repair. |
| Replacement > Upgrade Replacement |
By using this button, you can set a rent object to be the main object of the rental contract, for example when the previous rent object can no longer be delivered because it is too badly damaged. For more information on this, go here. |
| Service > Create Service Order |
By using this button you can create a service order the selected line. |
| Service > Service Order |
By using this button you can open existing service orders for service items in the selected line. |
Columns of the 'Return Plan'
This subsection describes all existing columns in the Return Plan. Depending on the status, various columns allow parameters to be entered or changed directly, should this be necessary.

| Option | Action |
|---|---|
| Finished | Activate this checkbox if no further actions are necessary for this line to process it. |
| Document No. | This column specifies the number of the contract for which a rental reservation exists. |
| Customer No. | This column specifies the number of the customer for which a rental reservation was created. |
| Rent Class | This column specifies the rent class for which the rental reservation was created. You can find more information on rent classes under Rent Classes. |
| Object Type | This column specifies the object type (item or service item) for which the rental reservation was created. |
| Estimated Contract End Date | This column specifies the estimated end date of the rental contract. |
| Quantity | This column specifies the quantity of the rent objects for which the rental reservation was reserved. |
| Qty. Returned | This column specifies the quantity of rent objects that have been returned by the customer. |
| Unit of Measure Code | This column specifies the code of the unit of measure in which the rent object is delivered. |
| Status | This column specifies the current status of the rent object. The possible statuses of a rent object are defined in the object status flow of the respective rent class. You can find more information on the object status flow under Process Flow. |
| Next Status | This column specifies the next status which the rent object will have after the following process step. The possible statuses of a rent object are defined in the object status flow of the respective rent class. You can find more information on the object status flow under Process Flow. |
| Protocol Exists | This column specifies if a protocol exists for the respective rental contract. |
| Object No. | This column specifies the (service) item number of the rent object. This field is only filled if a specific rent object has been reserved or planned. You can find further information on this in the Assigning specific object numbers to lines and Plan Reservation sections. |
| Object Description | This column specifies the description of the rent object as it is stored in the (service) item. This field is only filled if a specific rent object has been reserved or planned. You can find further information on this in the Assigning specific object numbers to lines and Plan Reservation sections. |
| Object Description 2 | See 11 – Object Description. |
| Return Location Code | This column specifies the code of the location to which the rent object will be returned. More information on rent locations you will find here Rent Objects. |
| Vendor Return Location No. | This column sets the vendor number as vendor location number in case the return location is a vendor location. |
| Return Bin Code | This column specifies the code of the location to which the rent object will be returned by the customer. More information on rent locations you will find here. |
| Shipping Agent Code | In this drop-down list you can select a code for the shipping agent. This might be an internal shipping agent or an external shipping agent such as a package service or a goods transport agency. |
| Return Date | This column specifies on which date the object will be/was returned by the customer. |
| Return Time Prefix | This column specifies if a rent object should be returned by the customer until or from a certain time. |
| Return Time | This column specifies the time at which the rent object should be returned by the customer. |
| Current Location | This column specifies the current location of the rent object. |
| Customer Name | This column specifies the name of the customer for who the rental contract is being processed. |
| Return Address | This column specifies the address at which the rent object will be returned. |
| Return Comment | In this column you enter comments or hints on the return. |
Assigning and returning rent objects in a released rental contract
Assigning rent objects in a released rental contract
To assign rental objects in a released rental contract, please proceed as follows:
- Create a rental contract as described under Creating a rental contract or open the Rental Contracts page and select an active rental contract.
- Scroll down on the rental contract page card to the Contract Objects area.
- Reserve the rent objects (for this see Creating a reservation) or plan the rent objects (for this see Planning a reservation).
- Mark the line of the rent object that you want to assign.
- Select Manage > Process Next Status.

- If a value has already been selected in the Next Status column, it will now be adopted and entered in the Status column.
- If no new status has been defined, a pop-up window will be opened where you can select the next status. The possible statuses of a rent object are defined in the object status flow of the respective rent class.
You can find more information on the object status flow under Process Flow.
- Navigate to the Quantity column and enter the desired quantity that you want to assign to the rent object.
- Check the Delivery Location Code column and specify the location from where the rent object will be delivered.
- If the values Current Location and Delivery Location Code differ then the rent object is not at the designated rental location yet.
-
Optional Select Transfer > Create Transfer Order to create a transfer order.
You can find more information on this under Transferring rent objects between rental locations.
-
Optional Select Transfer > Create Transfer Order to create a transfer order.
- If Current Location and Delivery Location Code are the same, enter the date at which the rent object should be delivered into the Delivery Date column.
- Select Next Status > Process Next Status.
- A dialog window is opened. Confirm the dialog window with Yes to enter further data.
- The protocol card for this order is opened.
- Check the pre-filled fields for correctness and optionally fill in the (remaining) fields to finish the order. You can find more information on the individual fields of the protocol card here.
- Scroll down to the end of the protocol card to get an overview of the rent parameters.
- Enter the quantity you want to process in the Quantity to Process column.
- If all data is complete, select Status > Release.
- To post, select Posting > Post to deliver the rent object on the specified date.
- The rent object will receive the Object has been delivered status.
- Repeat these steps for all rent objects in the rental contract.
Note
If the line is linked to a rental purchase contract with direct shipment, a rental purchase protocol is created from the contract object lines of the rental contract. This can be opened via the Open Protocol action in the menu bar of the Contract Objects register.
Returning rent objects via a rental contract
To return rent objects via a rental contract, please proceed as follows:
- Open the rental contract for which you want to return rent objects.
- Select the line of the rent object that you want to return in the Contract Objects register.
Note
A rent object can only be returned if the rent object has the Object has been delivered state.
- Optional Set the next status for the rent object in the Next Status colum.
- Select from the drop-down list of the Return Location Code column the code of the rental location to which the rent object will be returned to.
- Enter the date in the Return Date column at which the rent object will be returned.
- Select Manage > Process Next Status.
Note
If no next status has been defined in the previous step, a pop-up window will be opened where you can select the next status.
- A dialog window is opened. Confirm the dialog window with Yes to enter further data.
- The protocol card for this order is opened.
- Check the pre-filled fields for correctness and optionally fill in the (remaining) fields to finish the order. You can find more information on the individual fields of the protocol card here.
- Scroll down to the end of the protocol card to get an overview of the rent parameters.
- In the Return Lines area, enter the quantity of the rent objects to be returned, replaced or taken into repair into the Quantity to Process column.
- If all data is complete, select Status > Release.
- To post, select Posting > Post to deliver the rent object on the specified date.
- The rent object will receive the Object has been returned status.
- Repeat these steps for all rent objects in the rental contract.
- Once all rent objects have the Object has been returned status, the rental contract will receive the Final Settlement status.
The rental contract is now finished and can be invoiced. For more information on this, go to Invoice Plans.
Create Picklist
You can create picklists that contain all important information for fulfilling an order. This makes it easier for the warehouse staff to commission the rent objects and for the vendors to plan the route.
Note
You have to set up a picklist number first to create a picklist. You can find more information on this under TRASER Rental Setup.
To create a picklist, please proceed as follows:
- Use the quick search (ALT+Q) to find the page Rent Picklists in TRASER DMS 365.
- The window for creating picklists is displayed.
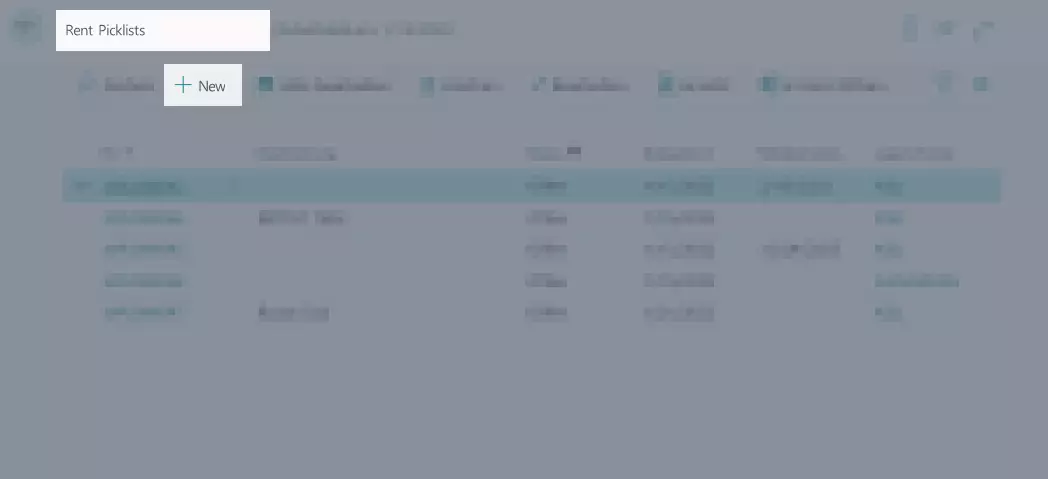
- Click on New to create a new rental picklist.
- For this, complete the columns according to the specifications in the table below.

| Column | Description |
|---|---|
| No. | This column is filled automatically and specifies the number of the entry involved according to the set number series. You can find more information on this under TRASER Rental Setup. |
| Description | Here you can enter a specific description for the commissioning document. |
| Status | This column is filled automatically. |
| Document Date | Here you can enter the date for the commissioning document. |
| Due Date | Optional In this column you can enter the date on which the delivery should take place. |
| Location Code | In this column you can enter the location code from which the delivery should take place. |
| Responsible Person | Optional In this column, you can enter the assigned user for processing this picklist. |
- Select Add > Add Lines.
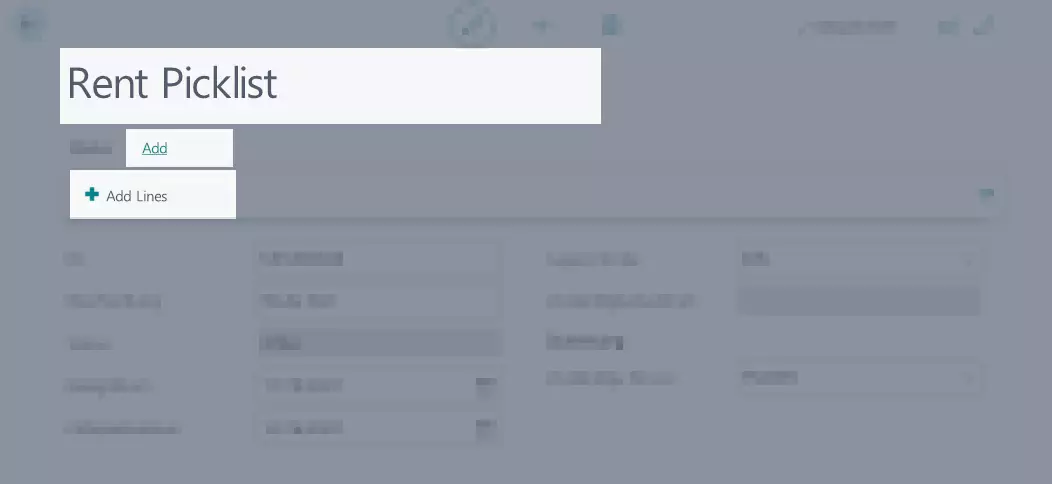
- A list of all lines that can be added to the picklist is displayed.
- Mark the lines you want to add to the picklist. For this, click on the button with the three dots.
- Click OK to create the picklist.
Creating a picklist via the Delivery Plan or Return Plan
You can also create a picklist directly via the Delivery Plan or Return Plan. Please proceed as follows:
- Use the quick search (ALT+Q) to find the page Delivery Plan or Return Plan in TRASER DMS 365.
- A list of all lines that can be added to the picklist is displayed.
- Mark the lines you want to add to the picklist. For this, click on the button with the three dots.
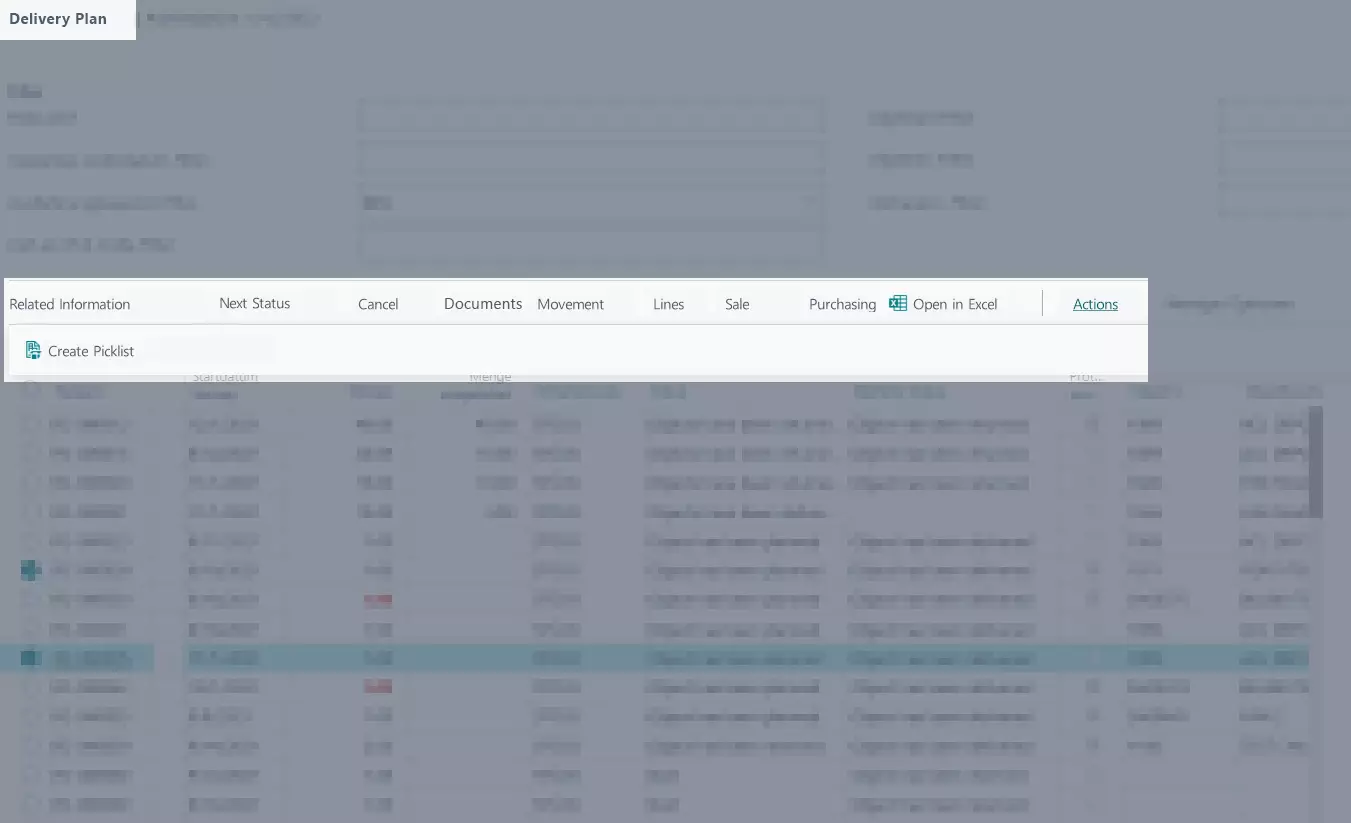
- Select Actions > Create Picklist.
- A pop-up window is opened in which you can select if you want to create a new picklist or if the respective lines should be added to an existing picklist.
- Select Add to new picklist to create a new picklist.
- For this, complete the columns according to the specifications in the table below.
| Column | Description |
|---|---|
| No. | This column is filled automatically and specifies the number of the entry involved according to the set number series. You can find more information on this under TRASER Rental Setup. |
| Description | Here you can enter a specific description for the commissioning document. |
| Status | This column is filled automatically. |
| Document Date | Here you can enter the date for the commissioning document. |
| Due Date | Optional In this column you can enter the date on which the delivery should take place. |
| Location Code | In this column you can enter the location code from which the delivery should take place. |
| Responsible Person | Optional In this column, you can enter the assigned user for processing this picklist. |
- Select Close to create the picklist.
In the next chapter you will learn everything important about checklists for the delivery of rent objects.
Continue with next chapter