Setting up Default Dimensions for Accounts
You can assign default dimension values to accounts. That means that an account will be assigned certain dimension values whenever the account is entered in a posting line of a document. You can also define whether dimension values that have been entered in a posting line should be changeable. This avoids using dimensions that may not be used anymore.
Note
This function will only be used for documents that have been created after activating the function. Documents that have already been posted won’t be affected if you assign default dimensions.
Accessing the function:
- Use the quick search in TRASER DMS 365 to find the page Chart of Accounts
- The page with the created accounts is displayed.
- Select the account that you want to assign dimension values to.
- Select Navigate > Account > Dimensions > Allocation for Selected Data Record from the menu list. If the menu item Navigate is not displayed, click on More Options in the menu bar.
- A new window opens in which you can define default dimensions.
Setting Default Dimensions
- From the Dimension Code column, select the dimension that you want to assign fixed dimension values to.
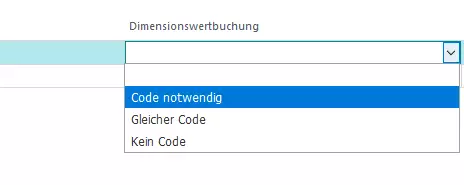
- From the Value Posting column, select one of the following options.
| Option | Description |
|---|---|
| Empty | It is optional to enter a dimension value in the posting line of a document. You can also leave the field empty. |
| Code Mandatory | Documents cannot be posted if no dimension value has been entered in the applicable posting lines. However, the entered dimension value doesn’t have to match the preset dimension value. But first, you have to define Allowed Dimension Values. |
| Same Code | When a document is posted, the preset dimension value is compared to the dimension value you have entered. A document can only be posted if the dimension values are the same. |
| No Code | No dimension value should be entered in the posting line. |
- As soon as you close the page Default Dimensions, the changes are applied.
Example using a purchase invoice
Option Same Code
This example uses an account that has been assigned the dimension Department with the dimension value Sales. In addition, the option Same Code has been selected in the Value Posting column.

- Set up a new purchase invoice.
- Fill in all required fields in the General tab.
- In the Lines tab, choose the option G/L Account from the Type column.
- Enter an account that you have assigned dimension values to.
- Fill in the other fields required for the posting.
- The assigned value Sales is automatically entered in the Department Code column. If the Department Code column isn’t shown, you have to open it.
- Change the value to PROD.
- Choose Post > Post from the menu bar.
- If you want to post the invoice, confirm the message with Yes.
- An error message appears prompting you to change the dimension value to the specified value.
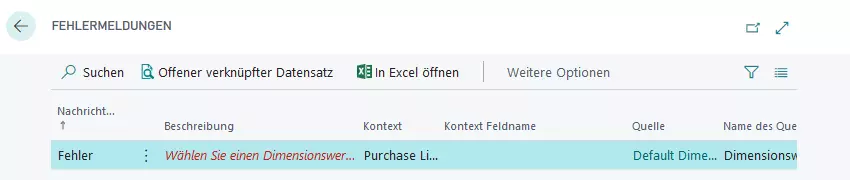
- If you select the option Same Code, you will no longer be able to change the dimension value.
Option Code mandatory
This example uses an account that has been assigned the dimension Department with the dimension value Sales. In addition, the option Code Mandatory has been selected in the Value Posting column.

- Set up a new purchase invoice.
- Fill in all required fields in the General tab.
- In the Lines tab, choose the option G/L Account from the Type column.
- Enter an account that you have assigned dimension values to.
- Fill in the other fields required for the posting.
- The assigned value Sales is automatically entered in the Department Code column. If the Department Code column isn’t shown, you have to open it.
- When using the option Code Mandatory, you will still be able to change the dimension value before posting.